


On September 17, I launched the presale page for my newest course, Build A Beloved Membership.
On November 12, I finished building the course.

That's almost two months of hard work to go from idea to reality – and the reality is that this is the best course I've made!
If you're considering building your own online course, let me share the process I followed so that you can follow or adapt it to build your own course.
Concept
The first step in building your online course is having a clear concept for what the course will teach. Courses typically offer you:
- A transfer of knowledge
- New skill development
- Personal/professional transformation
- Some other specific outcome
You need to identify what YOUR course offers (and for whom).
Examples:
- This course helps [this type of person] achieve [this outcome]
- This course will teach you [specific skill]
- After taking this course, you'll be able to [do this thing]
- This course will help you become a better [type of job]
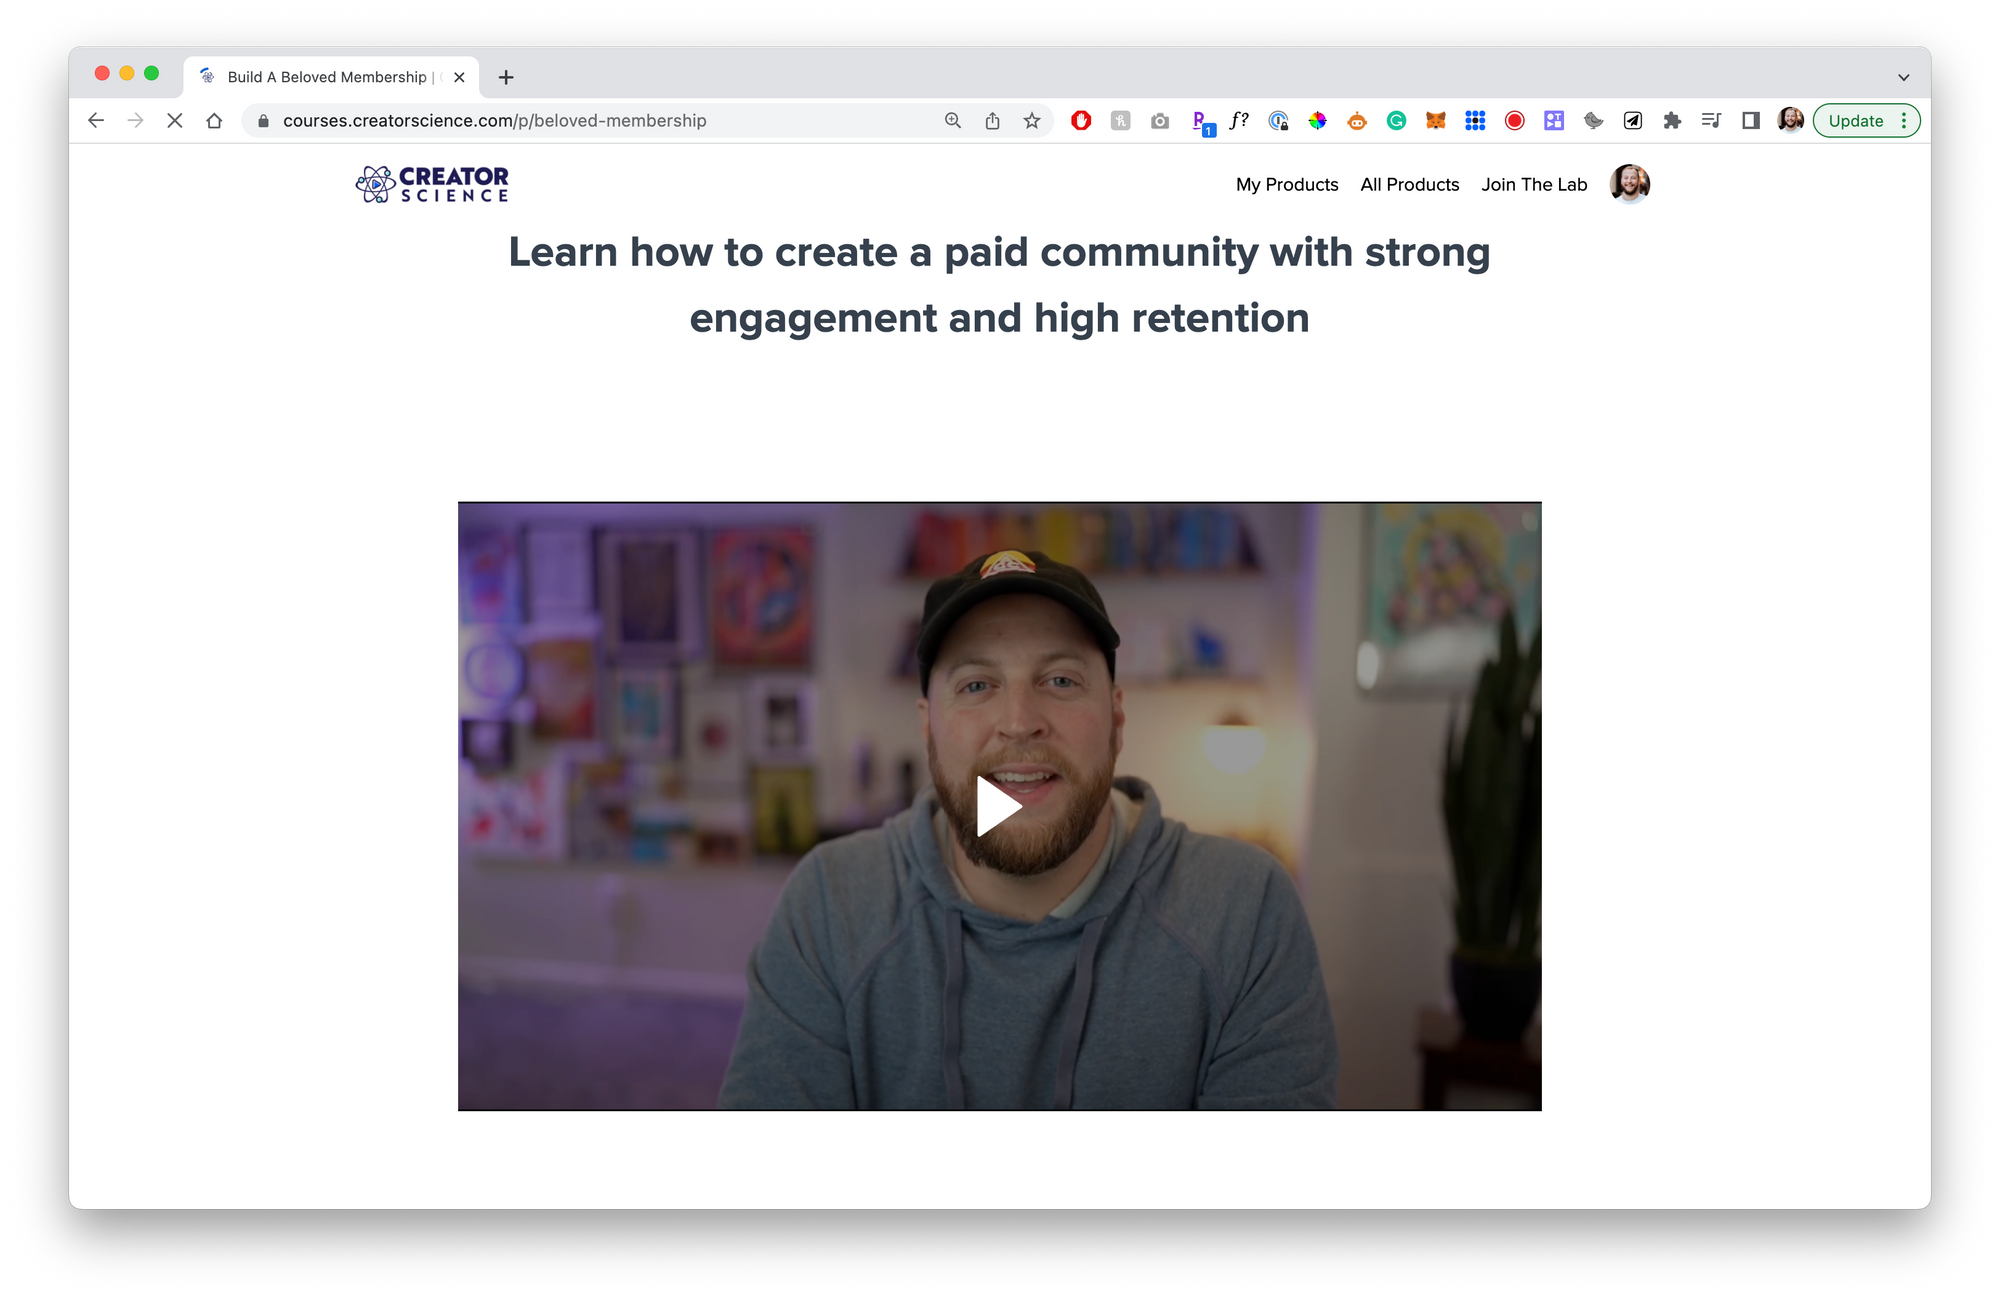
My course, Build A Beloved Membership (which I'll start referring to as BABM), helps people create a paid membership community with high engagement and retention.
Part of the concept phase also comes with naming the course. I believe the course title itself should be short, memorable, and easily referred to. Ideally the name provides some intuitive sense what is in the course, but you can always add a more descriptive subtitle.
Title: Build A Beloved Membership
Subtitle: How to create a paid membership community with strong engagement and retention.
Presale
Once you've come up with what you believe to be a strong concept, I recommend validating that concept by offering it for presale.
I really can't recommend preselling your course more highly. It gives you the opportunity to offer the course at a discount because that discounted price is only available on presale. This is a compelling offer for people who are interested in the course – if I know I want this thing, I'm likely to buy it NOW on presale while it is cheaper.
I also like to set a presale goal with myself – typically 10 sales. If I can't get 10 presales, I would return the money to students and put the course aside.
Thankfully, that's never happened. But this can save you a TON of time and heartache – instead of working your butt off to make a thing that no one buys, you can re-allocate all that time to something else.
If you're worried that you don't have an audience to offer a presale to, then it may not be the best use of your time to make a course anyway. People tend to buy courses from those they know, like, and trust – and you're better off spending time building an audience of people who know, like, and trust YOU before you build a course (or any product).
For BABM, I decided to host this course on Teachable which is where I already host and sell the rest of my courses.
To presell a course on Teachable, there are just a few steps:
- Creating a new "Course"
- Building out the sales, checkout, and confirmation pages
- Creating placeholder "Sections" and "Lectures" for your curriculum
- Creating Presale Pricing plans
You basically need to do everything except create and upload your course videos. Which sounds like a lot, but it really only takes a half day or so to build out your presale page and do it well.
When done right, viewers will be able to read a compelling sales page, see your planned course curriculum, and purchase with presale pricing.
I also like to add some text on Confirmation page, first Lecture, and a follow up email to let the student know when they can expect the course to be finished and uploaded.
Outline
Once the presale is live, it's time to get to work actually building this thing! For the purpose of the sales page, I typically take a wild pass at the curriculum (along with a disclaimer that the curriculum shown is subject to change).
That's generally a good starting point, but incomplete.
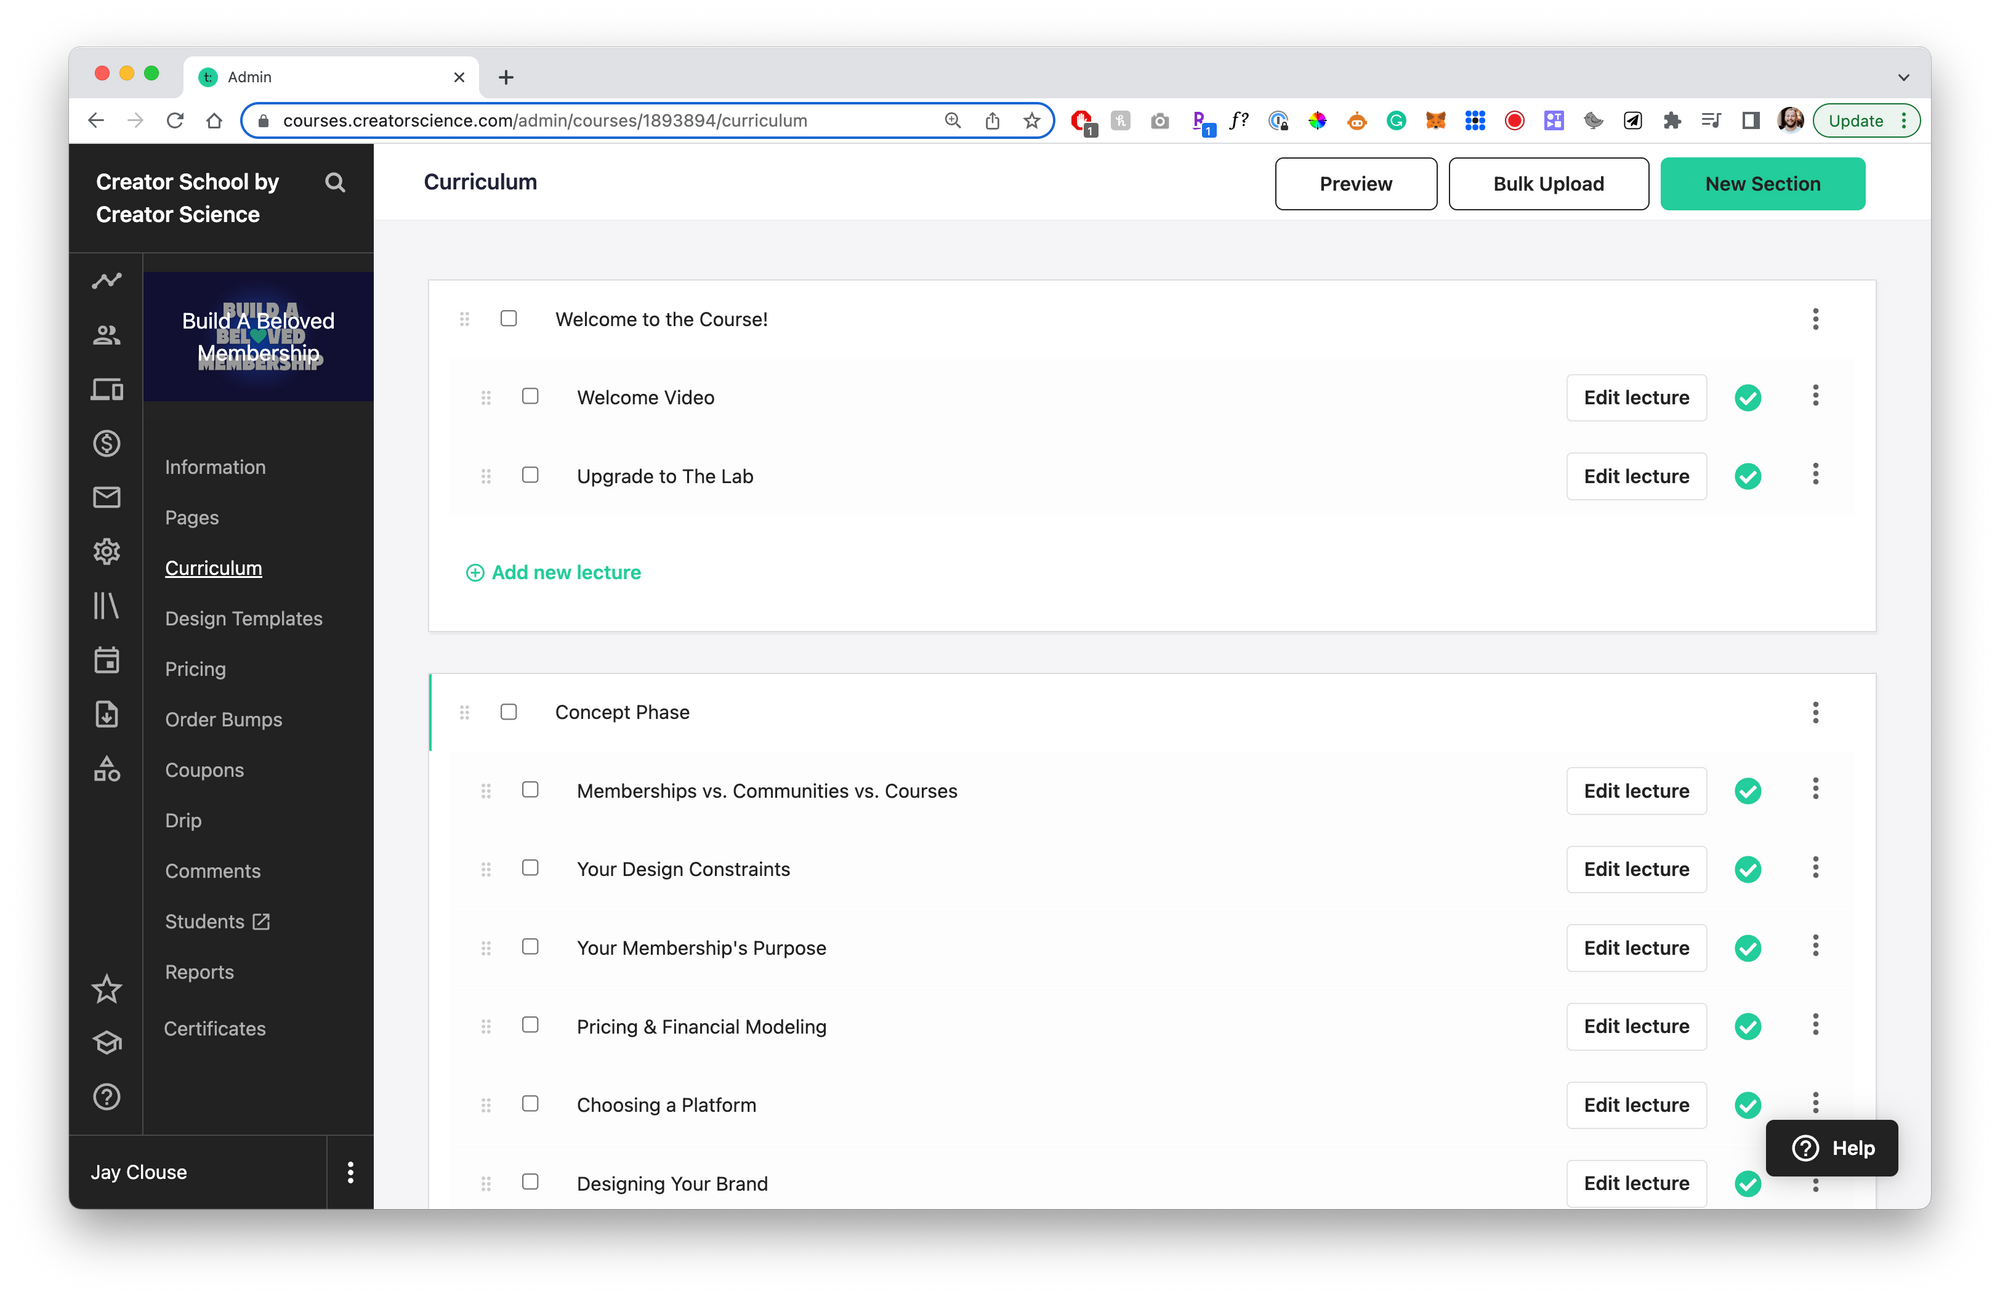
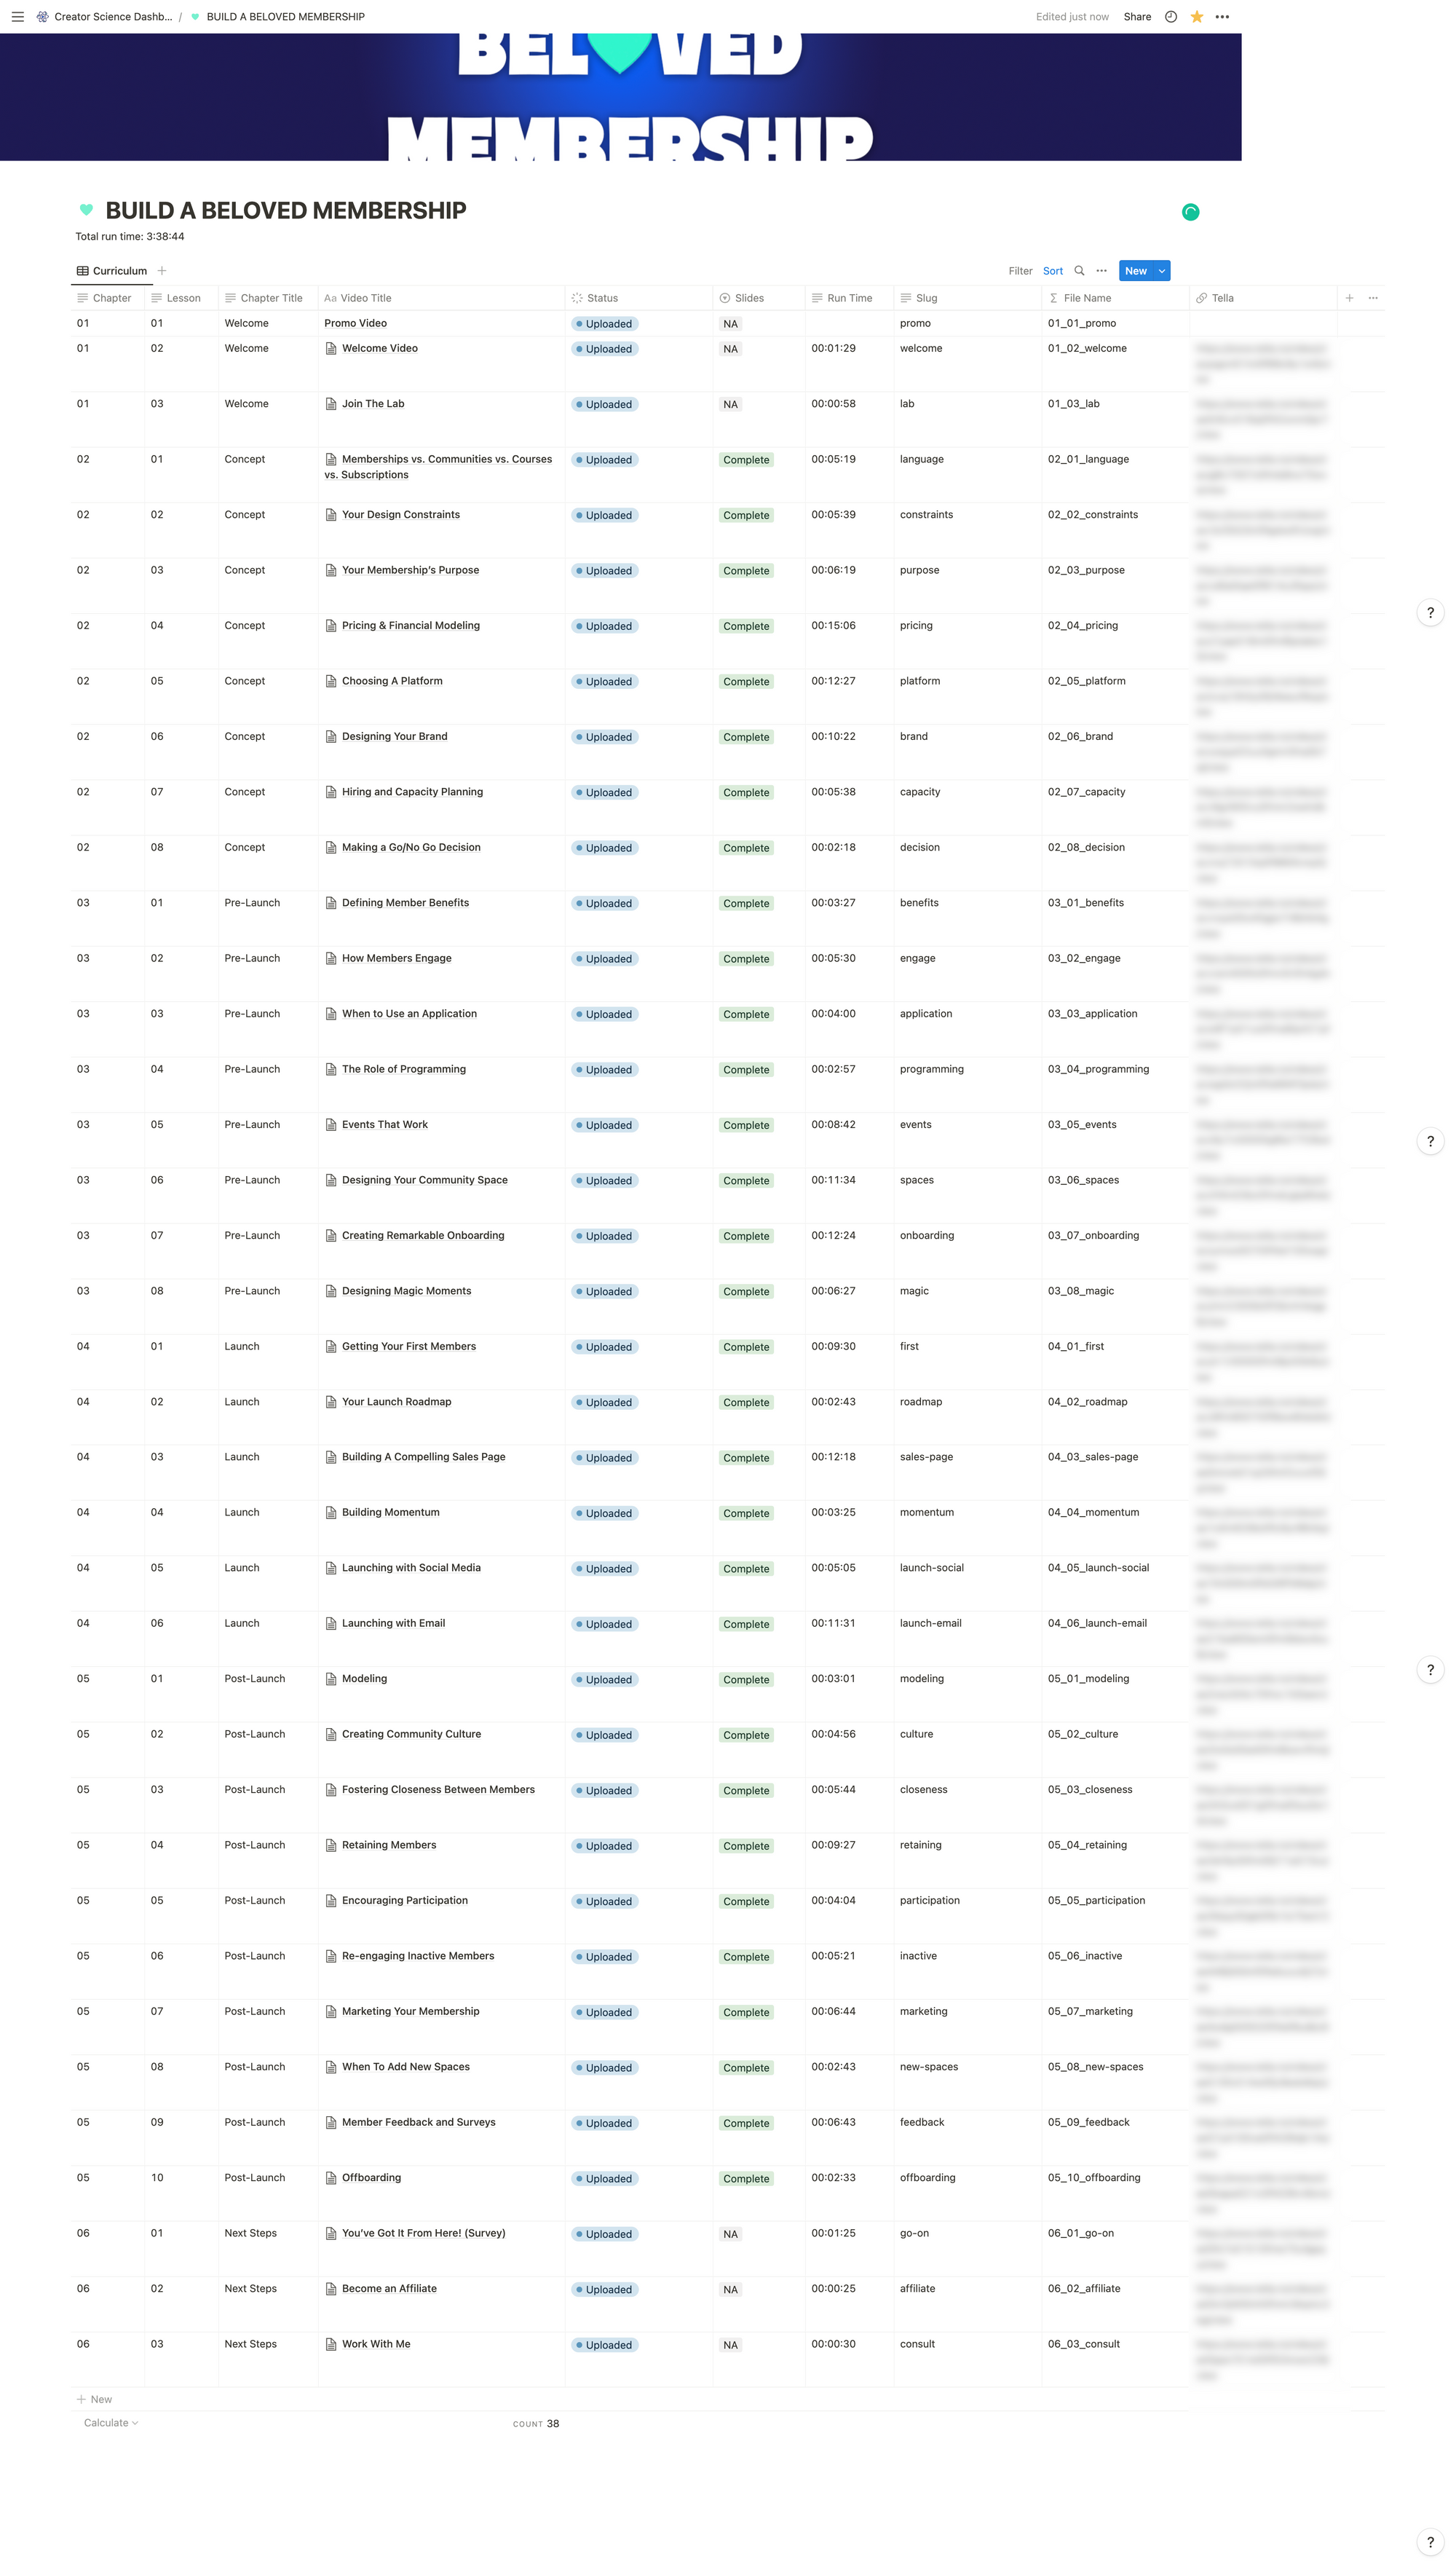
So in the next stage, I begin finalizing the course curriculum inside of a Notion database. I create a new spreadsheet (and database) for each course, and then each row of the database become one lesson ("Lecture" in Teachable terms).
The database has a few important properties:
- Chapter #
- Lesson #
- Lesson Title
- Status
- Slide Progress
- Attachments
- Assignment
There are a few other properties I use, but those aren't as important.
Here's what my full course database looks like:
To start, I just create a whole bunch of rows in the Lesson Title property. Anything related to this Concept that I think I want to cover I'll add as a new Row in the database.
After I brain dump a bunch of video topics that I feel are crucial for this course, I start to clean things up. I start by categorizing each video based on a phase or stage of the process – usually giving it some sort of title.
For BABM, I ended up with a few clear chapters:
- Welcome
- Concept
- Pre-Launch
- Launch
- Post-Launch
- Next Steps
I number those Chapters in order to start to sort the database in a linear fashion.
Then I go Chapter by Chapter and combine some Lessons together, split Lessons apart, or add additional Lessons to ensure I cover everything important. As a general rule of thumb, I want each Lesson to have one single, clear learning objective that is obvious from the title.
Lessons in BABM include:
- Your Membership’s Purpose
- Pricing & Financial Modeling
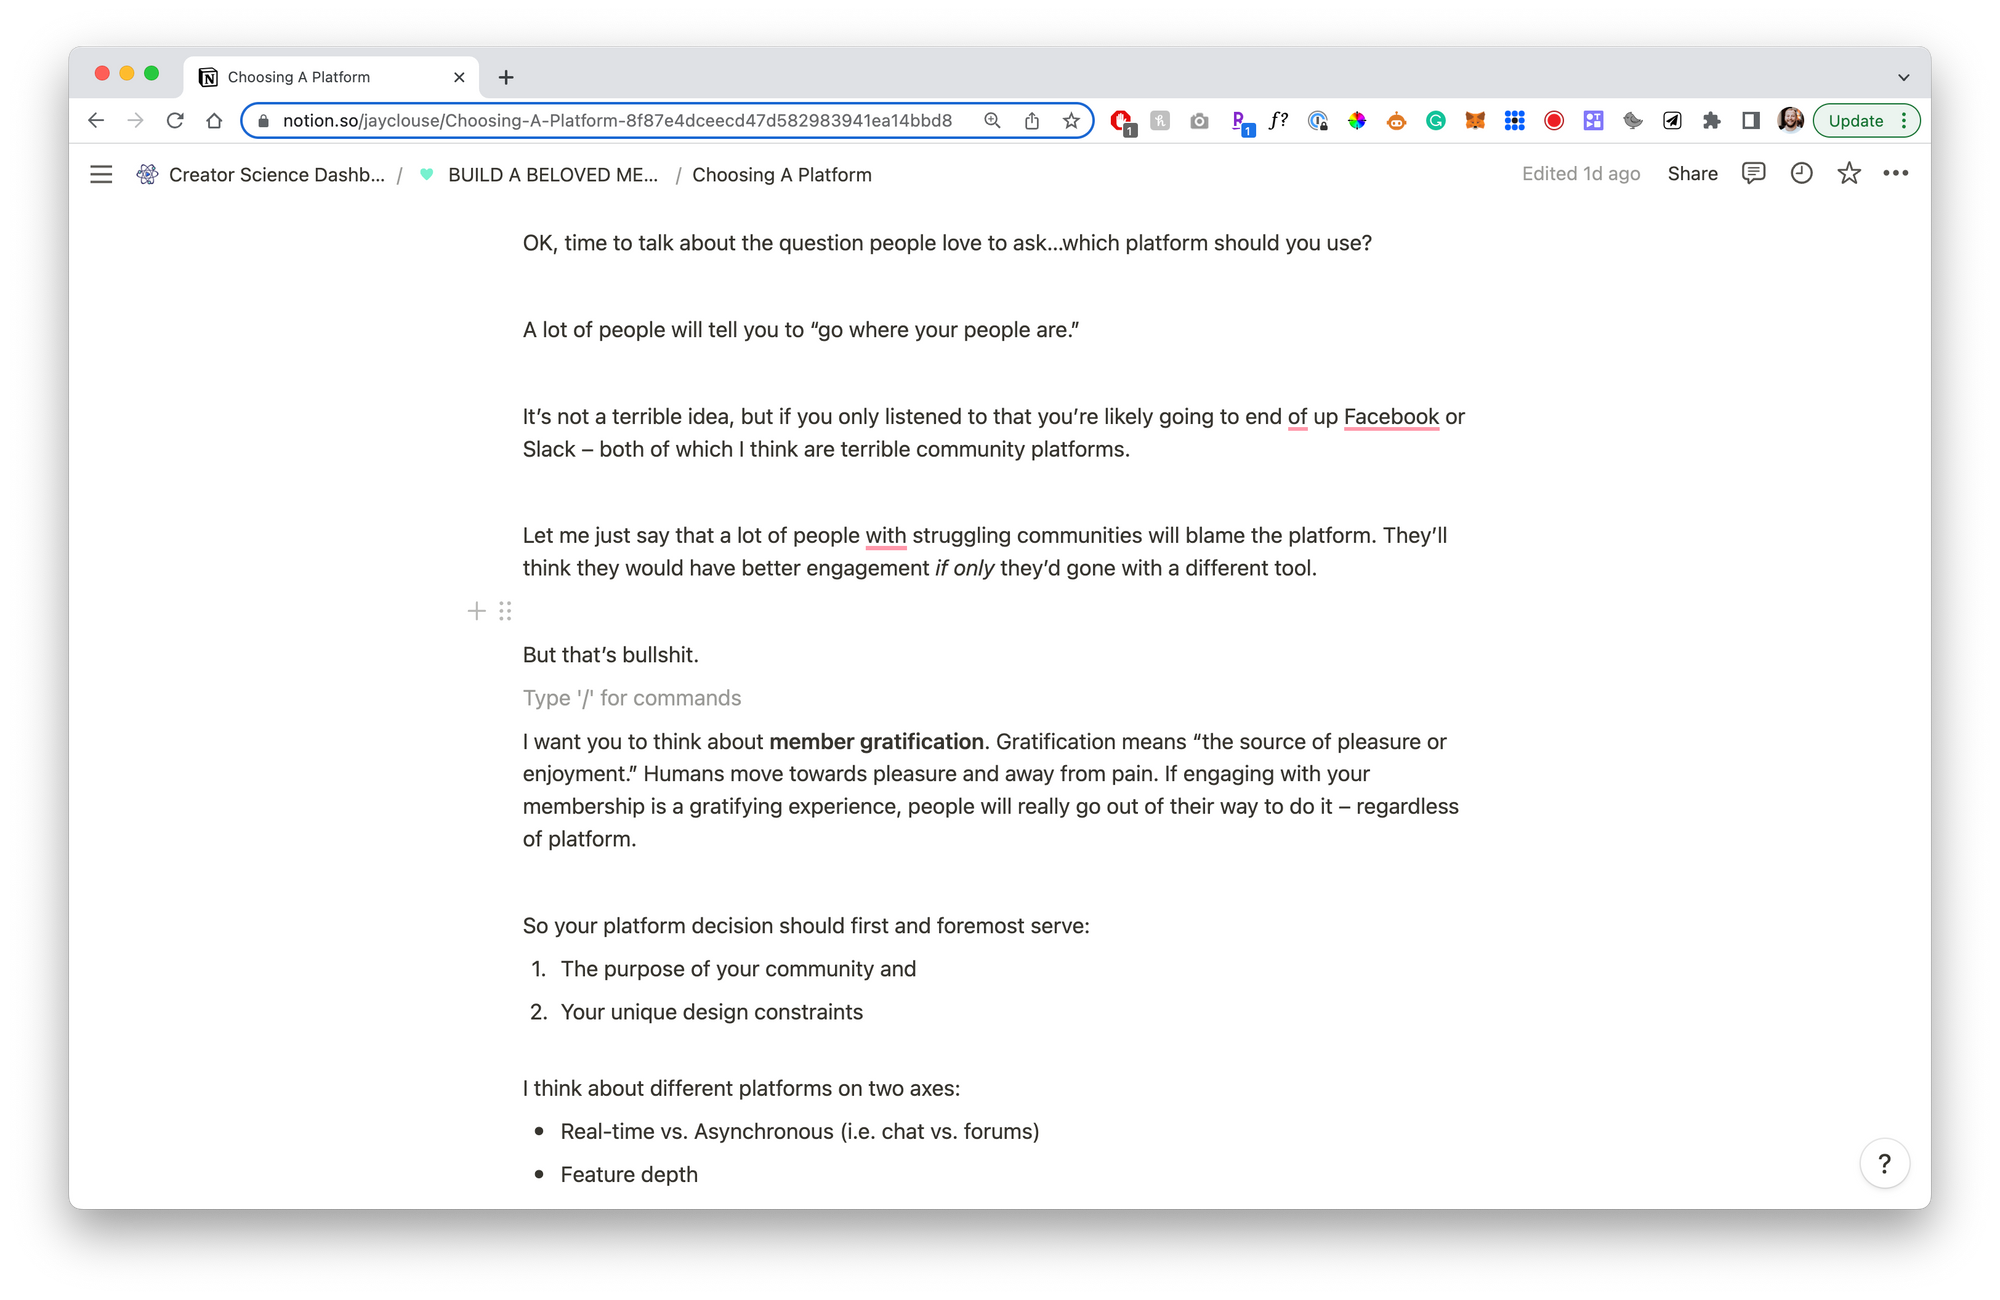
- Choosing A Platform
- Designing Your Brand
- Hiring and Capacity Planning
Then I put those Lessons in order within each chapter.
At some point, when I feel like I have a Lesson that will capture all the necessary information that I want to share, I am satisfied with the Curriculum Outline.
For BABM, I shared the outline on Twitter:
Just finished the outline for my upcoming course!
— Jay Clouse (@jayclouse) October 10, 2022
It's called "Build A Beloved Membership" and it's focused on helping you build a paid membership community people love + doesn't rule your life.
It's looking like ~30 lessons.
Here's what the curriculum will cover:
This allowed me to both gather feedback and generate a little hype around the course that is still in presale.
Scripting
Once I have the full course curriculum laid out in my Notion database, I start creating the content for each Lesson.
This is another major benefit of this approach in Notion – each Lesson in this database has an associated Page. So I expand each Lesson and use the page to write down the points I want to cover in each lesson.
There are several ways you could do this:
- Bullet points
- Full scripts
- Somewhere inbetween
When I created my last course, Podcast Like The Pros, I mostly created bullet points for each lesson. Then I used those bullet points as cues for what to cover when I spoke directly to the camera.
For this course, since I've had so much practice creating scripts for Creative Elements, I found it was almost easier for me to prepare full scripts for each lesson.
It took a LOT more time, but the result is more than 10,000 words which can be turned into short-form content, future YouTube videos, or even the start of a book!
Slides
I learned a lot about educational design during my time making courses for LinkedIn Learning. Something that I think about a lot is the different learning styles that people have – everyone has their own preferred method of learning.
There are typically three styles:
- Visual (seeing the material)
- Auditory (hearing the material)
- Kinesthetic (doing the material)
A lot of self-paced courses are catered towards auditory learners – you get a whole lot of the instructor just speaking directly to the camera.
I'm a big visual learner – so I wanted to make my course much more visual than just ME talking to you.
So I decided to make slide decks for each Lesson. Not only does this really help visual learners, but it also:
- Makes the course more polished
- Creates assets than can be leveraged later (talks, workshops)
- Provides visual cues while recording so that I don't need to memorize material
With 32 full Lessons, this became a LOT of slide-making. Thankfully, my scripting was structured in such a way that it made creating slides pretty straightforward, albeit time-intensive.
I am a slide-heavy guy (highly visual, minimal slides) and I don't use animations. As a result, my full slide deck for this course is 1107 slides! This took me several full days to pull together.
Recording
With my slides in hand, I'm FINALLY ready to record the videos for this course. In the past, I've recorded using ScreenFlow.
I think ScreenFlow is an incredible piece of software – it allows you to record high-quality video from your camera, desktop, and external microphone all at once. It also has some powerful editing capabilities with a clean, easy-to-learn UI.
However, I've also had some editing struggles in the past which I'll talk about in the next section.
For this course, I took a different approach. Instead of using Screenflow, I decided to record using Tella, which I absolutely love.

Tella is an alternative to Loom and I think it has a more robust, yet dead-simple set of tools for recording and editing.
Here's an example Lesson from BABM to show you what a video recorded in Tella looks like:
In the end, it took me about 10 hours to get all the videos recorded.
Editing
My goal with this course was to minimize the amount of time spent editing. Editing just isn't my favorite thing to do (hence why I hired a YouTube editor)!
When I used ScreenFlow in the past, I struggled to make sure that my audio and video are synced and it was just a slog to work through each video. Not to mention, each of the videos then needed to be rendered and were hundreds of MBs if not more than a GB. The pure rendering and exporting of that course took forever!
So my plan with this course was to edit within Tella – and it worked like a dream.
Seriously, look how easy this is:
Now, I will say, I have several advantages:
- Great audio/video
- Lots of experience with Tella
- A lot of presentation/public speaking experience
I was basically able to record each video in one take with minimal slip ups.
But, because of that, I was able to edit 32 videos in just a few hours.
Uploading
Another huge benefit of Tella over ScreenFlow is that they have pretty compact video sizes (while still being high quality).
My videos ranged in size from 17 MB to about 400MB – much better than the multi-GB Lessons I was exporting from ScreenFlow!
Because those file sizes were so manageable, I was able to get all 38 videos uploaded to Teachable in a matter of a couple of hours. I just upload them straight into the associated Lecture for each video, and voila!
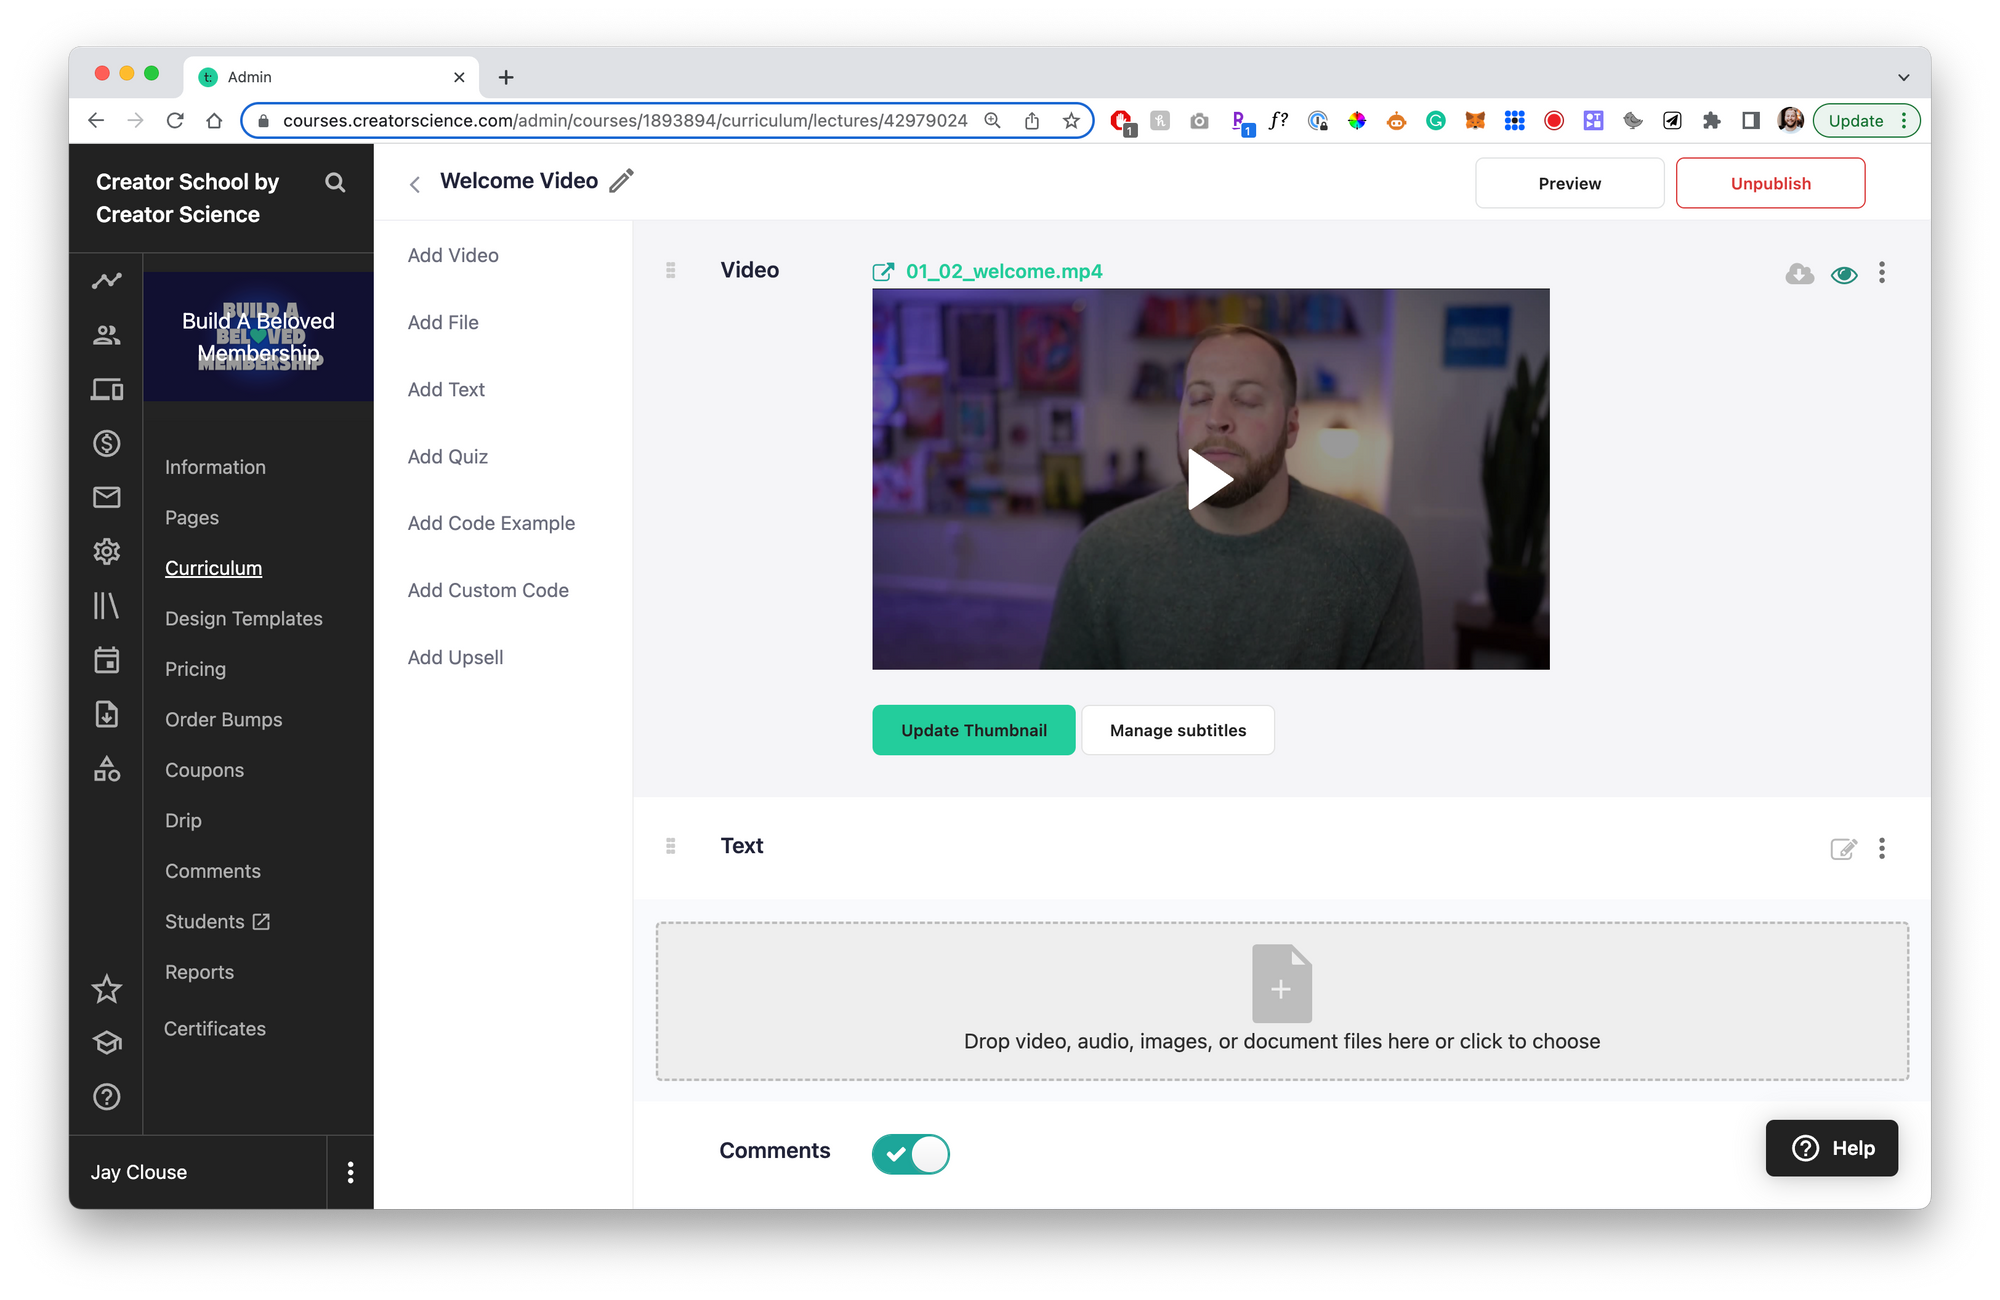
From there, I add a bit of supporting Text below each Lecture with major takeaways, assignments, or any supporting resources (like Templates) that I mentioned in the Lecture.
Conclusion
So that's it! After 2 months of work, I have 38 videos for a total of 3 hours and 38 minutes of material (including 1107 slides)!
It's a big course. Most courses won't be this large. But I had a lot to say!
I had about two dozen presales of the course, and I'm also providing it at no additional cost to members of The Lab. So, beginning today, hundreds of people will have access to this full course!
It's a satisfying experience once it's done – but it can be stressful if you get too optimistic about your timeline for delivering the course (as I did).
But, hopefully this provides you everything YOU need to get started building your own online course.
Want my planning database and some more instructions on how to get started?

Online Course Masterclass
With this masterclass, I'll share with you the template I use for planning and creating my course and teach you how to use it.
